Hey everyone, I hope you’re having an incredible day today. Today, we’re going to prepare a special dish, #bakingchallege red velvet cake. It is one of my favorites. This time, I am going to make it a little bit unique. This is gonna smell and look delicious.
#bakingchallege RED VELVET CAKE is one of the most well liked of current trending meals in the world. It’s enjoyed by millions every day. It is simple, it’s quick, it tastes yummy. They are fine and they look fantastic. #bakingchallege RED VELVET CAKE is something that I’ve loved my whole life.
To begin with this recipe, we must prepare a few components. You can cook #bakingchallege red velvet cake using 17 ingredients and 8 steps. Here is how you cook it.
The ingredients needed to make #bakingchallege RED VELVET CAKE:
- Make ready 3 cups flour
- Prepare 1 teaspoon baking soda
- Get 2 tablespoons unsweetened cocoa
- Make ready 1/2 teaspoon salt
- Make ready 1/2 unsalted butter
- Prepare 2 cups sugar
- Get 1 canola or vegetable oil
- Prepare 4 eggs
- Prepare 1 1/2 teaspoon vanilla extract
- Make ready Liquid or gel red colour
- Make ready 1 cup Buttermilk
- Take Cream cheese frosting
- Take 450 g cream cheese
- Take 4 1/2 icing sugar
- Get 1/2 cup unsalted butter
- Get 1 1/2 teaspoon vanilla extract
- Prepare Pinch to taste
Steps to make #bakingchallege RED VELVET CAKE:
- Preheat oven to 350°F (177°C). Grease two 9-inch cake pans, line with parchment paper, then grease the parchment paper. Parchment paper helps the cakes seamlessly release from the pans.
- Whisk the flour, baking soda, cocoa powder, and salt together in a large bowl. Set aside.
- Using a handheld or stand mixer fitted with a paddle attachment, beat the butter and sugar together on medium-high speed until combined, about 1 minute. Scrape down the sides and up the bottom of the bowl with a rubber spatula as needed. Add the oil, egg yolks, vanilla extract, and vinegar and beat on high for 2 minutes. (Set the egg whites aside.) Scrape down the sides and up the bottom of the bowl with a rubber spatula as needed.
- With the mixer on low speed, add the dry ingredients in 2-3 additions alternating with the buttermilk. Beat in your desired amount of food coloring just until combined. I use 1-2 teaspoons gel food coloring. Vigorously whisk or beat the 4 egg whites on high speed until fluffy peaks form as pictured above, about 3 minutes. Gently fold into cake batter. The batter will be silky and slightly thick.
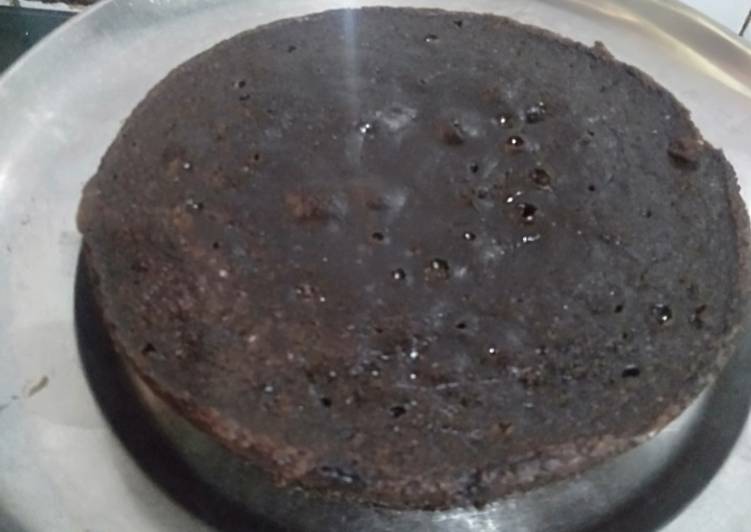
- Divide batter between cake pans. Bake for 30-32 minutes or until the tops of the cakes spring back when gently touched and a toothpick inserted in the center comes out clean. If the cakes need a little longer as determined by wet crumbs on the toothpick, bake for longer. However, careful not to overbake as the cakes may dry out. Remove cakes from the oven and cool completely in the pans set on a wire rack. The cakes must be completely cool before frosting and assembling.
- Make the frosting, In a large bowl using a handheld or stand mixer fitted with a whisk or paddle attachment, beat the cream cheese and butter together on medium-high speed until smooth, about 2 minutes. Add the confectioners’ sugar, cream/milk, vanilla extract, and a pinch of salt. Beat on low speed for 30 seconds, then increase to high speed and beat for 3 minutes until completely combined and creamy. Add more confectioners’ sugar if frosting is too thin, more milk if frosting is too thick, or
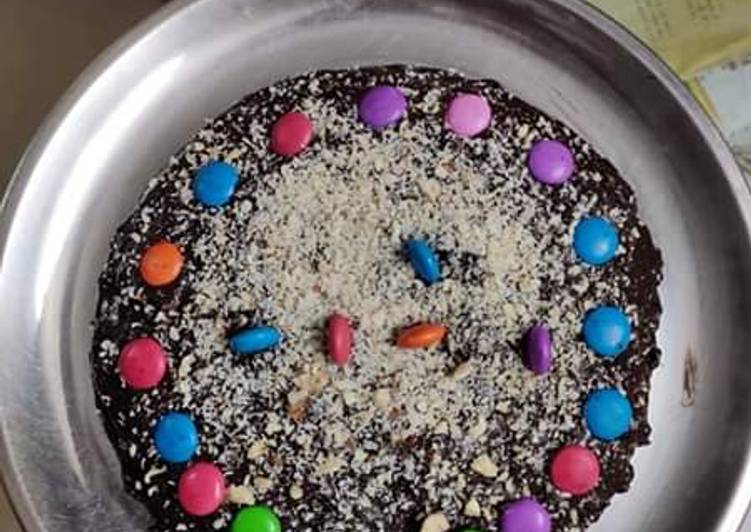
- Assemble and frost: Using a large serrated knife, slice a thin layer off the tops of the cakes to create a flat surface. Discard or crumble over finished cake. Place 1 cake layer on your cake stand or serving plate. Evenly cover the top with frosting. Top with 2nd layer and spread remaining frosting all over the top and sides. I always use an icing spatula and bench scraper for the frosting. I used Wilton piping tip #12 for decoration around the top.
- Refrigerate cake for at least 30-60 minutes before slicing. This helps the cake hold its shape when cutting.
So that’s going to wrap it up for this exceptional food #bakingchallege red velvet cake recipe. Thanks so much for your time. I am sure that you can make this at home. There’s gonna be more interesting food in home recipes coming up. Don’t forget to save this page on your browser, and share it to your family, friends and colleague. Thanks again for reading. Go on get cooking!